
Pantry Organization
I recently went to my sister’s and organized her pantries. Yes, pantries, plural. But, unfortunately, neither are the biggest pantries. She has an amazing kitchen, but just doesn’t have a huge pantry. But that’s ok! We were able to make the most of the space she has and ended up with a beautifully organized pantry.

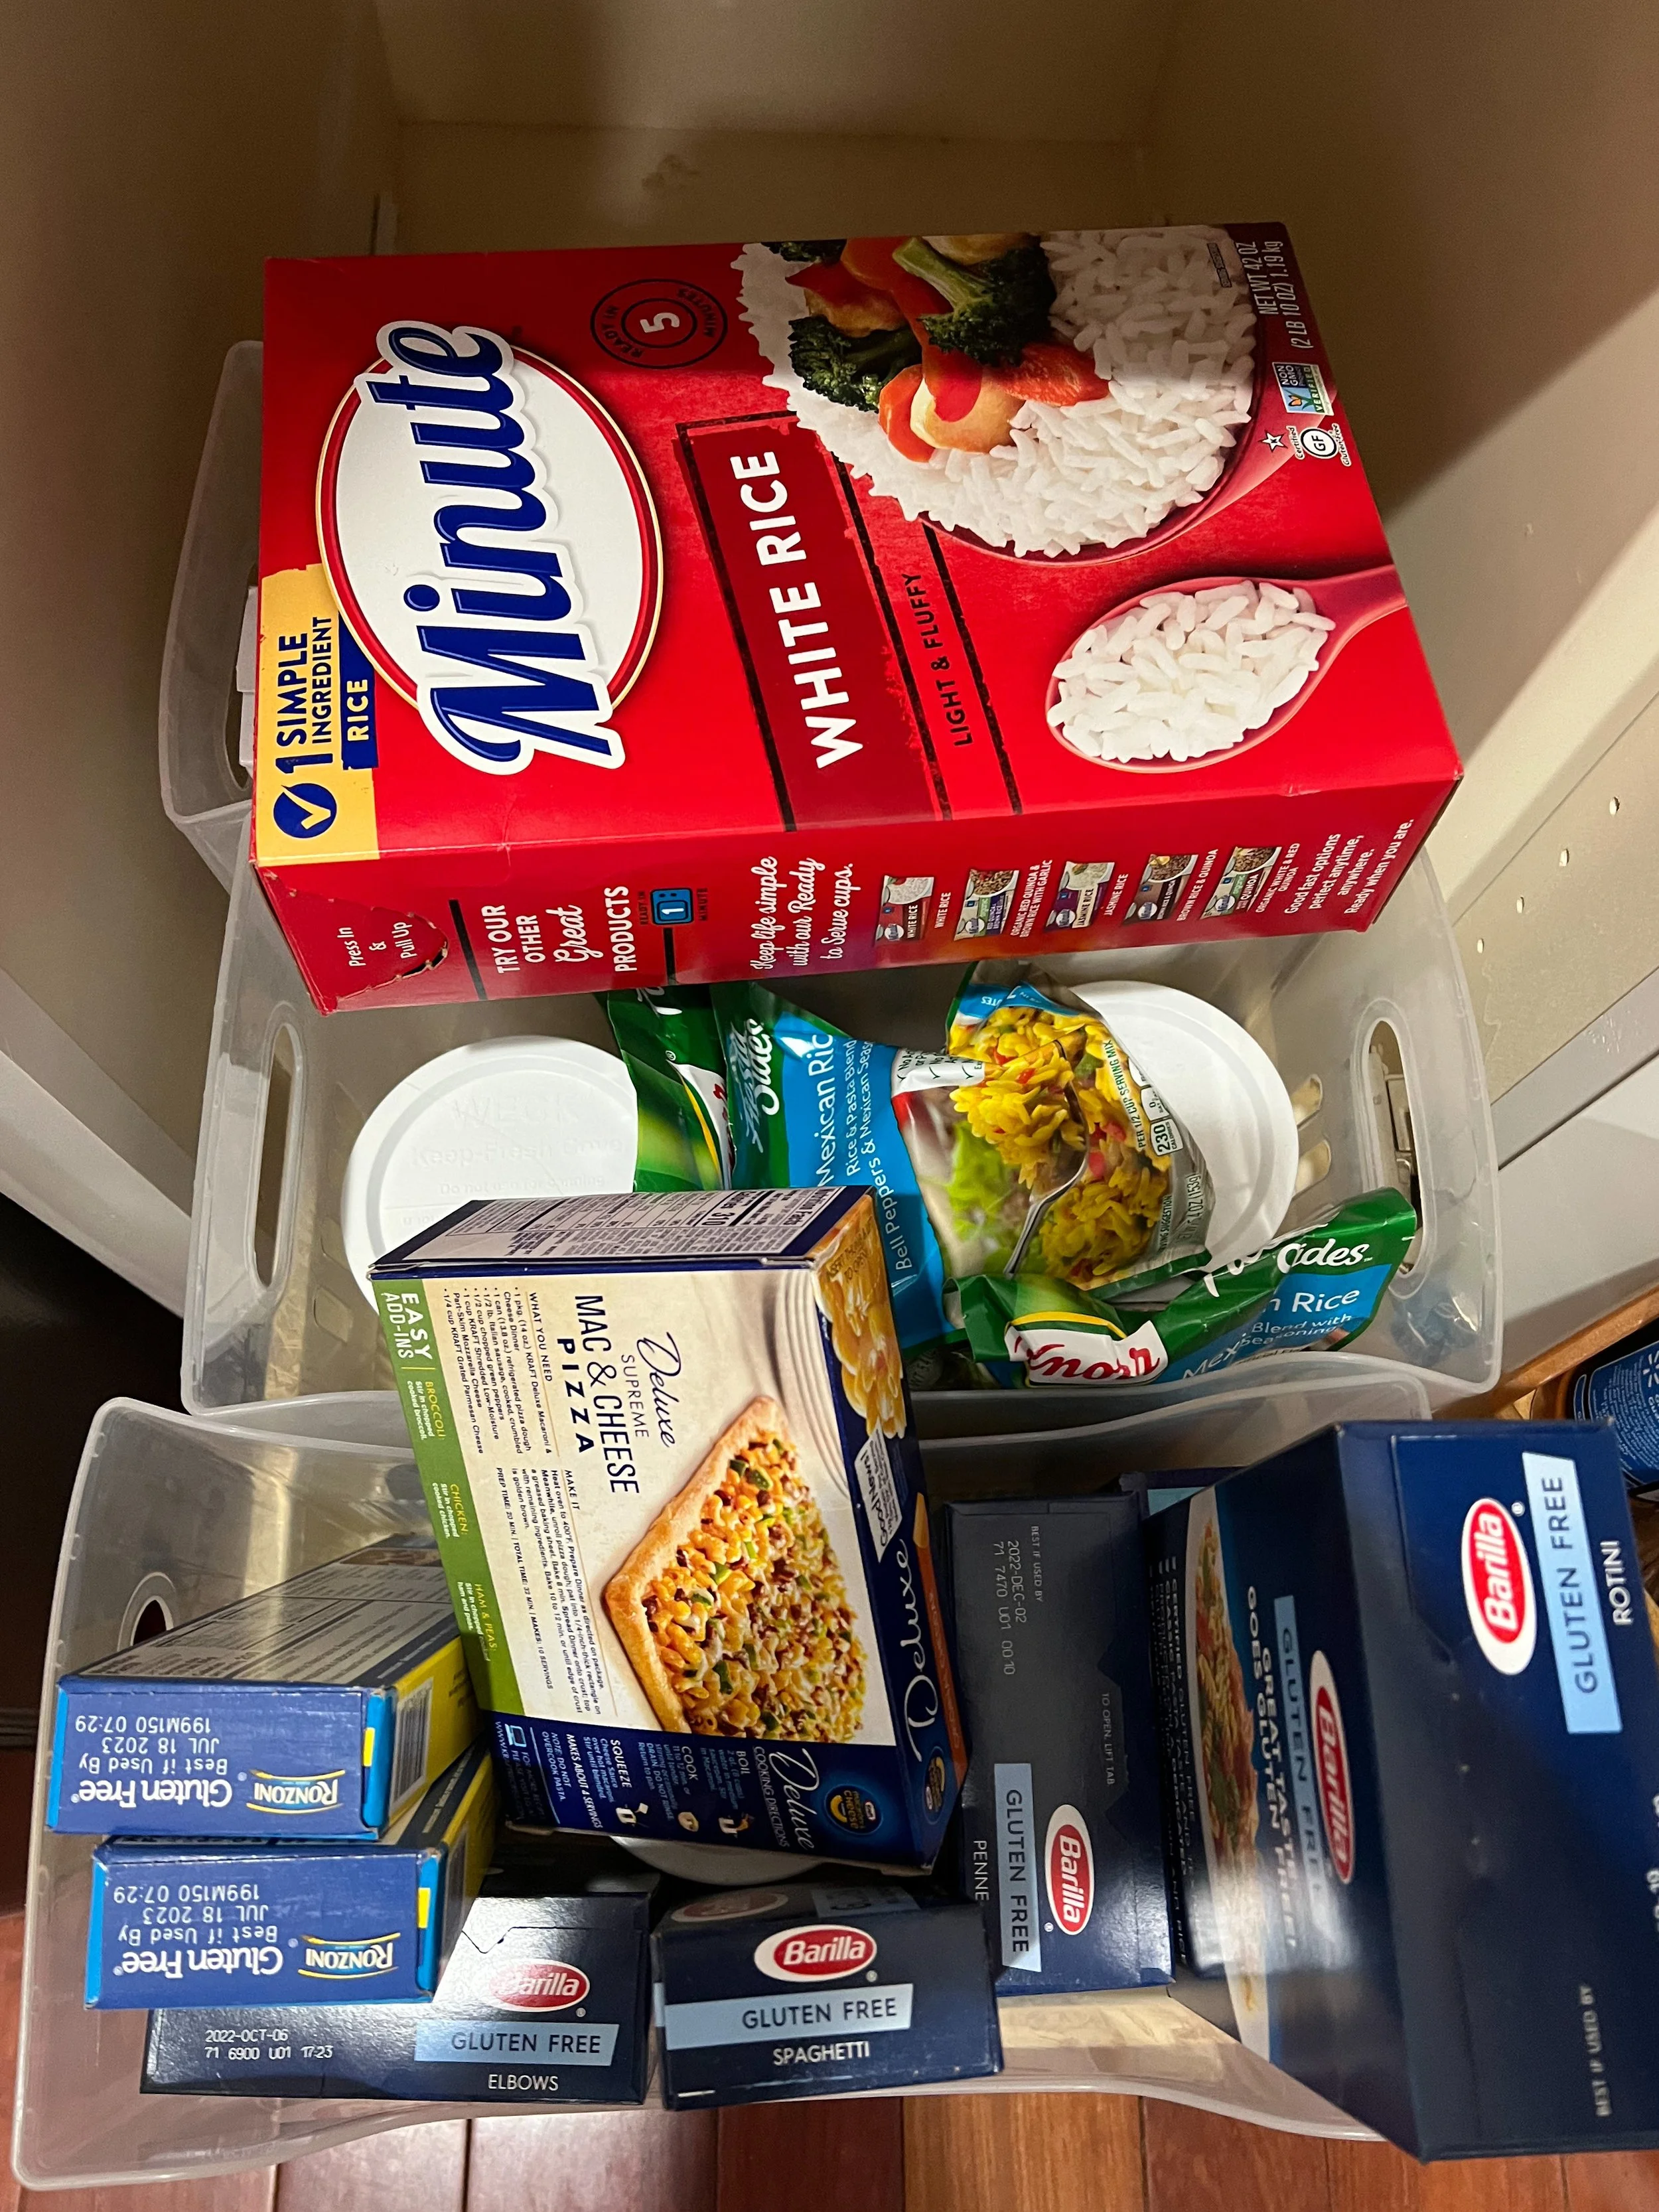
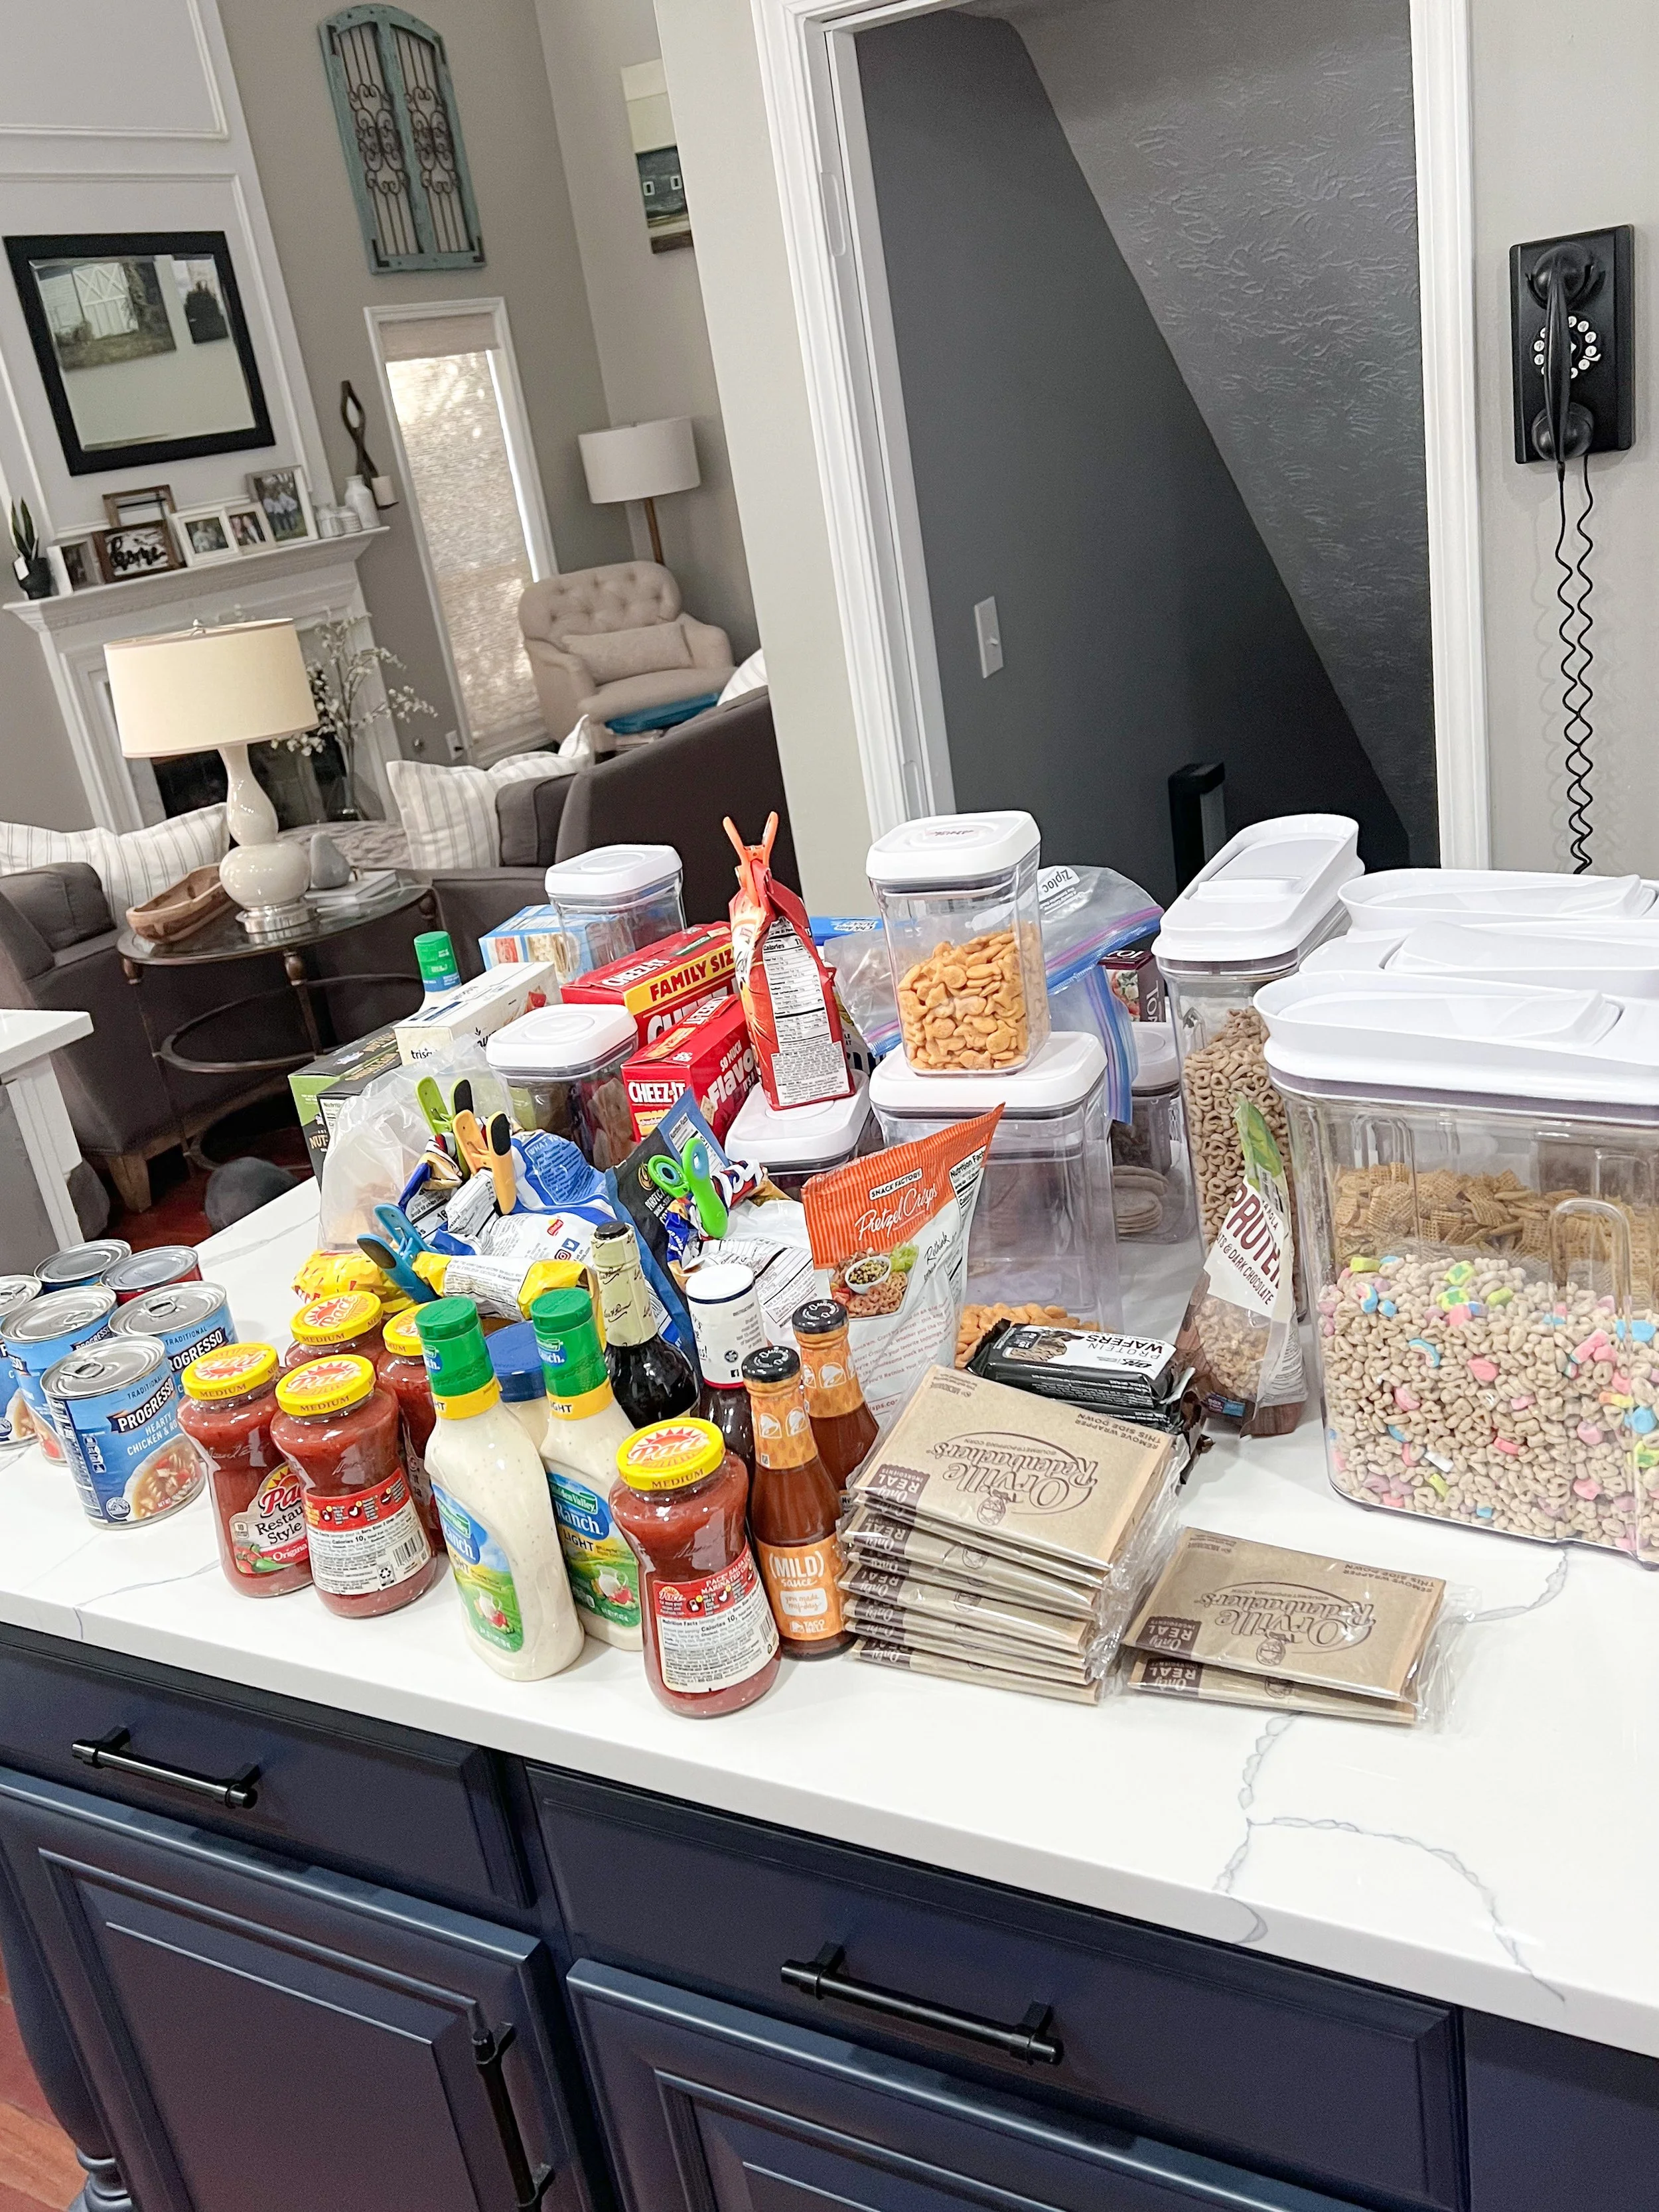
Before
My sister had great organizational products already in place and she, for the most part, already had her pantry divided into “zones.” The biggest issue was the overcrowded-ness and streamlining her containers. Creating back stock bins and storing overflow and multiples in a separate space/bin will really help keep the pantry neat and orderly.


Make a list of your pantry staples
Before you begin doing anything, it’s a good idea to make a list of your pantry staples - those things you always have in your pantry. They don’t necessarily have to be exact items - for example: chips 3-4 bags, canned soup, rice, dried beans 2-3 kinds, cereal - 4 boxes, so on and so forth. This will give you a good idea of what you generally keep in your pantry. Hold on to this list, you will need it later.
2. Measure
Next, measure everything! I like to sketch a diagram and take note of the measurements there. Length of shelves, distance/height between each shelf, depth of the shelves. Now that you have this, grab that pantry staples list.

*Example layout. Measurements are approximate.
3. Organize on paper
Take a look at your pantry staples and start creating zones. Do what makes sense to you and your family but below is a list to help get you started:
condiments (mayo, mustard, dressings, salsa, ketchup, peanut butter)
oils and vinegars
spices
bread
paper products
backstock
canned goods
baking (flour, sugar, baking mixes)
breakfast (cereal, granola, oatmeal, grits)
dinner (pasta, pasta sauce, rice, taco shells, macaroni and cheese, dried beans, grains)
chips
crackers
snacks (I think of snacks as anything that is individually wrapped like granola bars, popcorn, snack cakes, etc)
Next, start thinking where you want your zones to be. Keep in mind you will want your most used items at eye level. Put items you don’t use frequently up high or very low. Try to group like items together. It wouldn’t really make sense to store your oils next to your cereal. In the case of my sister’s pantries, we used the left cabinet, pantry for mostly her “cooking” items, so spices, oils, dinner items, condiments, etc. That way when she is cooking, she really only needs to go to this one area to grab everything she needs. The right pantry has the cereal, snacks, chips, crackers, etc. Just think through this and do what makes sense for how you and your family live. These aren’t hard and fast rules. The key here is to just think it through and develop a plan (and totally ok if your plan changes during this process!). But, put the plan on paper and map things out.


Something else you will want to start thinking of during this stage is containers. (I love containers!) And, if you saw my fridge organization, you know I love decanting. Same applies for the pantry. I suggest decanting these items:
cereal
oatmeal
grits
flour
sugar
rice
dried beans
grains
pasta
crackers
nuts

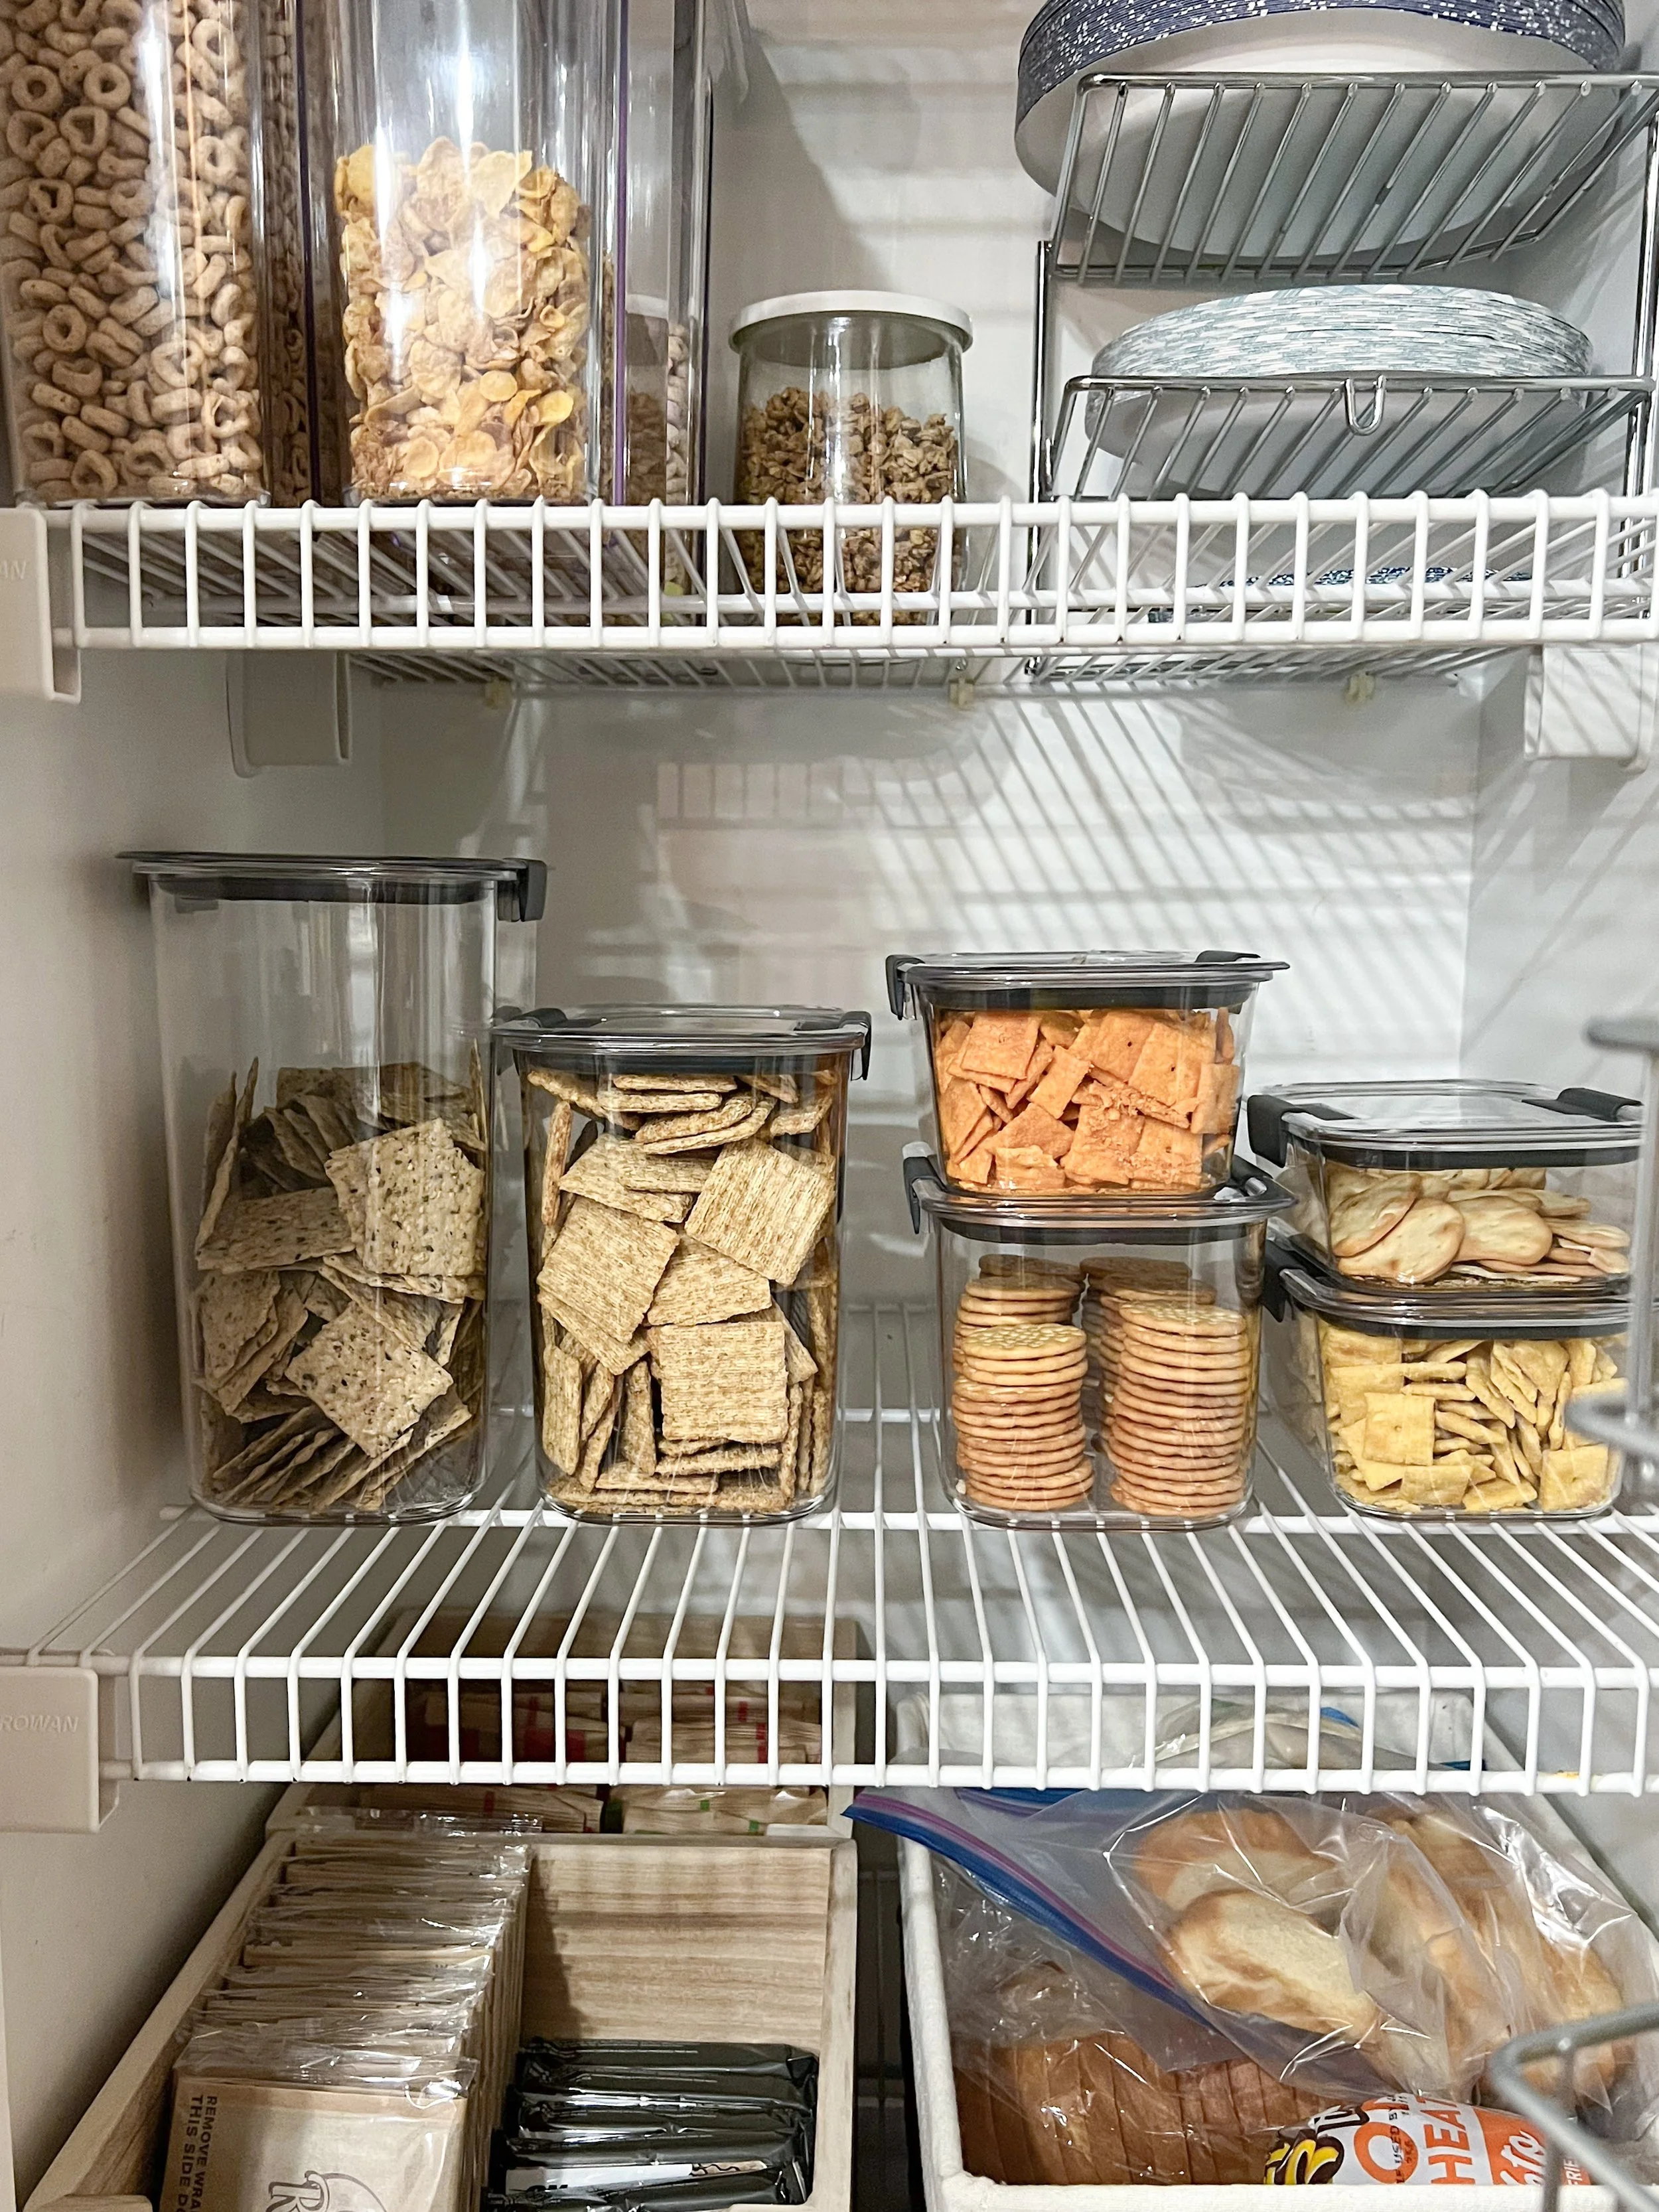
Pouring these out of their original packaging a) looks better, but b) helps you actually see what you have and how much you have left. I’m a huge fan of the OXO containers. In my sister’s pantry and in my own pantry, we have utilized the OXO cereal containers. We also used these OXO Pop Canisters for her dried goods such as rice and pasta.
For her crackers, she bought the Rubbermaid Brilliance Pantry set. In my pantry I use The Home Edit by iDesign Pantry Canisters. The moral of the story here is that there a several options out there to decant your pantry items into. Just be consistent and use the same type. This will give your pantry a more streamline, cohesive look.
You’re also probably going to want bins to keep things contained and organized. There are so many options out there for this: baskets, plastic bins, lazy Susans, wood bins, acrylic organizers, etc. These are great to corral items so they aren’t floating willy-nilly on your shelves. We used matching gray baskets for bread and chips. They are large and deep enough to use all of her pantry real estate but also keep those items together and create a more seamless look since the baskets are opaque.
We use a lot of these very affordable multi-purpose bins as well. She found some that fit perfectly in her pull-out drawers. They are deep which was really helpful for this space to utilize the vertical space between the pull-outs. We grouped things like peanut butter, syrup and honey together. Pasta boxes together (she opted not to decant these), rice packets and then we also used them to store her back stock items.
These boxes are absolutely adorable and were perfect for her individually wrapped items like popcorn, protein bars and oatmeal packets.
Lazy Susans are great for organizing items like your oils and vinegars.


But, again, to get that Pinterest-worthy pantry, keep these consistent for that neat, stream-line look and if you do want to have a variety of bins, make sure they compliment each other. You can see below how all the decorative containers we used compliment each other. I also notated what we ended up storing in each of them.

Now that you’ve got your list of pantry items, you’ve got your measurements and hopefully you have a good idea of what containers and bins you want/need, make sure you get it on paper. Sketch it out so you’ll have an idea how many bins you need (don’t forget to also get measurements of your bins and containers!) and where they will go etc.
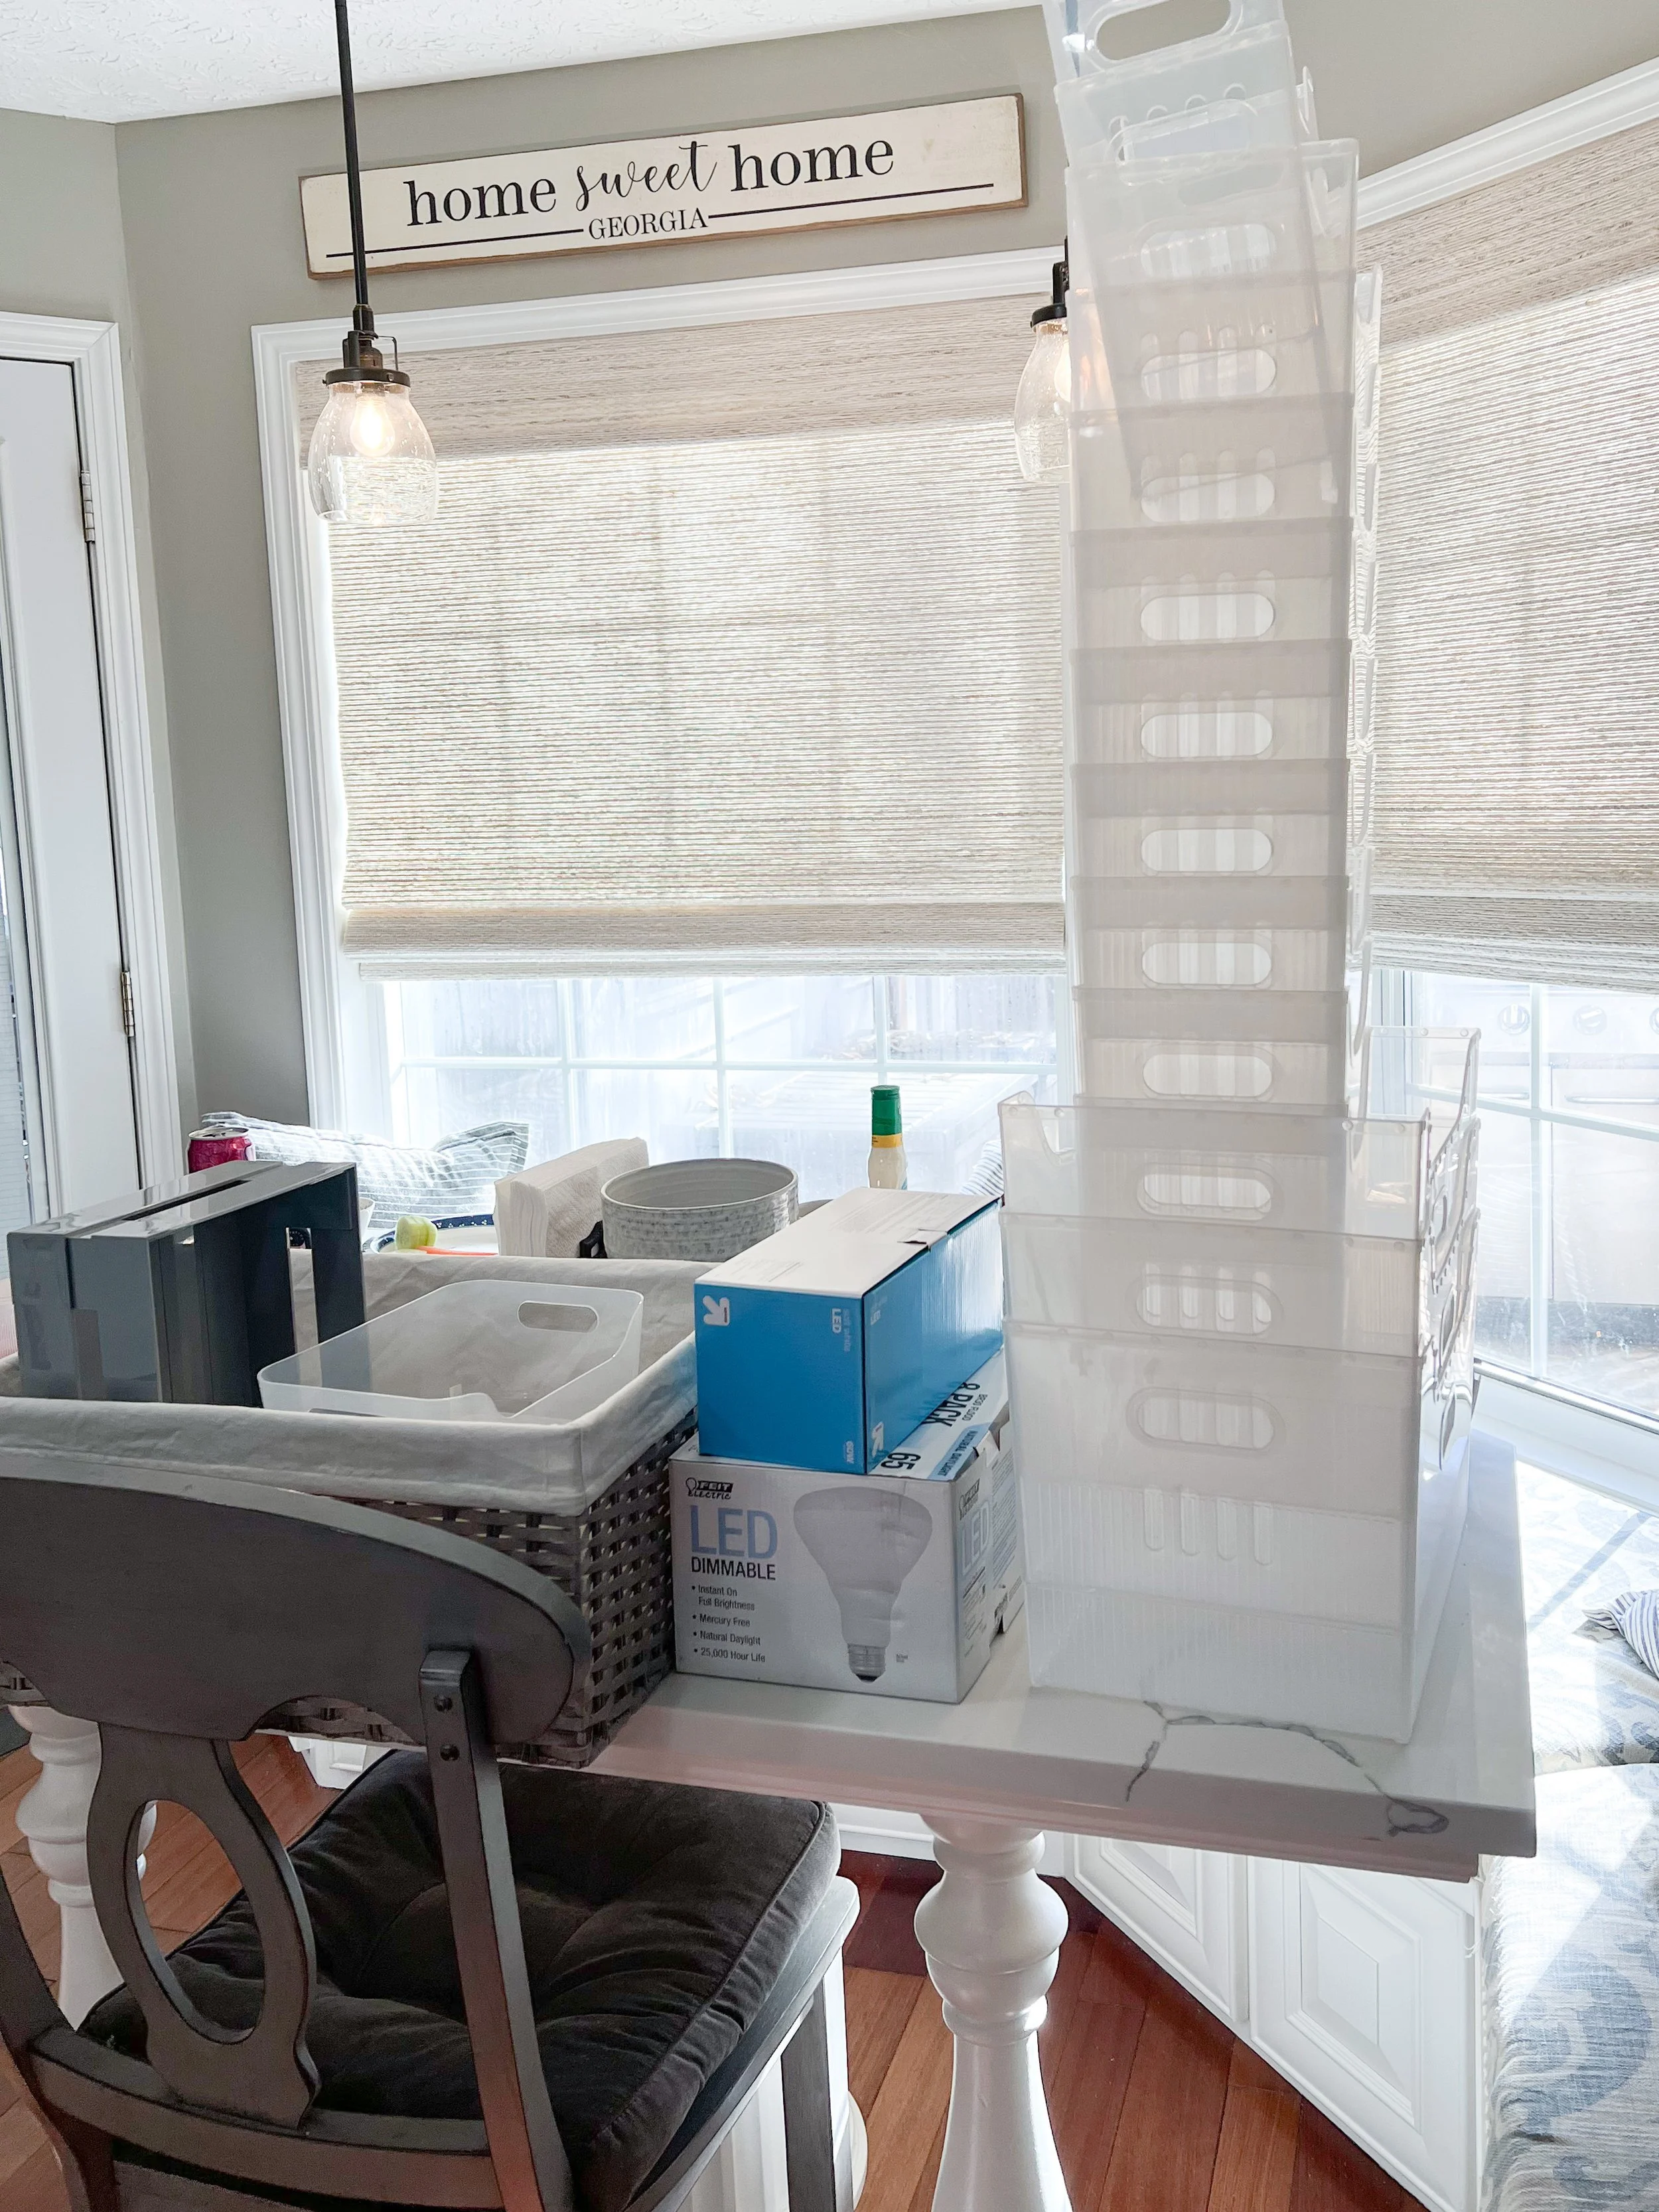
4. Shopping
Now you are ready to start shopping. You can buy online or, if you are inpatient like me, you can go in-store to shop. Just make sure you have your list of what you need or you might go down the organization rabbit hole that tends to happen when I step into The Container Store. The Container Store is my favorite place to shop, but you can also find the items you need at Target, Walmart, Amazon, HomeGoods and even Dollar Tree. You may find that you need to get your items from a couple of different places. It also never hurts to shop online first even if you plan on going in store to purchase. Just make sure to have that list and mark items off once you purchase. Stay organized while organizing. ;)
5. Remove everything
Now that you have your plan and all the containers and bins you need, the real fun can start. But first, remove everything from your pantry. I mean everything.


As you’re removing these items, sort them in categories/zones that you outlined earlier in step three. Don’t forget to group any excess or duplicates of items into your back stock. You should have scheduled a place and bin for these items. Having a back stock bin will help your pantry stay neat and organized and less cluttered.
So, it’s going to get worse before it gets better….


6. Clean
Since everything it out of the pantry, now is a good time to give it a good cleaning. Wipe down shelves and sweep and mop the floors. This is also a good time to go ahead and wash all off your new containers. That way they will be clean and ready to use.
*Tip: before moving to the next step, place your empty containers, bins, baskets in the pantry how you planned it out to double check that they fit like you had hoped. Totally ok to make adjustments now that you’re in the three dimensional world.
7. Load her up
Start putting everything away and placed in the pantry. This step should be fairly easy since everything is clean and you already have a plan. To keep things that you didn’t decant looking nice and neat since they are in their originally packaging, make sure the front of the package is facing out. For snacks that are individually wrapped, line them up and make sure they are all facing the same way. Even if you are storing your chips or bread in an opaque basket, neatly fold and clip any open bags and try to “file” them in the basket so they are not jumbled up and one can easily see what is available. Make sure your canned goods are grouped together. This is so visually appealing! It also helps you better track what you have on hand and you avoid buying too many duplicates. Whether you keep your spices in a drawer or in your pantry, alphabetize them so you can quickly find the spices you need while cooking.


8. Label
Once everything is in and you like how it looks and feel, label. You don’t need to go crazy with your label maker or Circuit, but label what makes sense to label. For example, baskets the you can’t see through, items you store up high, things that visually look the same (all purpose flour, self rising flour, sugar), items that you keep stocked so if the container is empty, you know what you’re missing (dried beans, pasta, rice). If you can clearly see what is in the container or if it’s a bin or basket that you know the items will change and rotate out (like snacks and such), there really is no need to label those things. Of course, unless you just want to and then by all means, go for it! Or, if you want to live on the wild side and not label anything…it’s your pantry (and funeral). ;)
Before and Afters


Freebie
Who doesn’t love freebies? Click here for a free, editable PDF of my pantry staples. You can use it digitally or print it. Like I do with my fridge and freezer, I use this every week when I take inventory of my pantry and highlight what we need to repurchase. (Here is my list if you need a jumping off point and don’t forget to also download the fridge and freezer staples.) Enjoy!

xo, Kristin
Shop the Blog

Want some more organization inspiration? Check out my other posts!


